Your micro terrarium ecosystem needs more than just light and water; sometimes, a timely soil refresh can revive the entire environment. Observing your plants respond to new soil—showing richer greens or perkier leaves—shows how transformative updating the substrate can be.
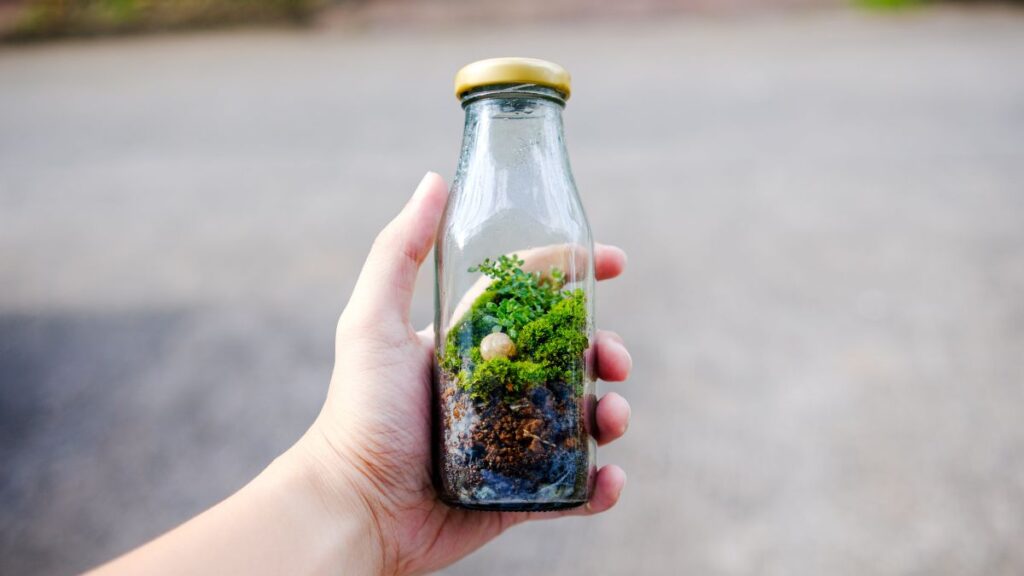
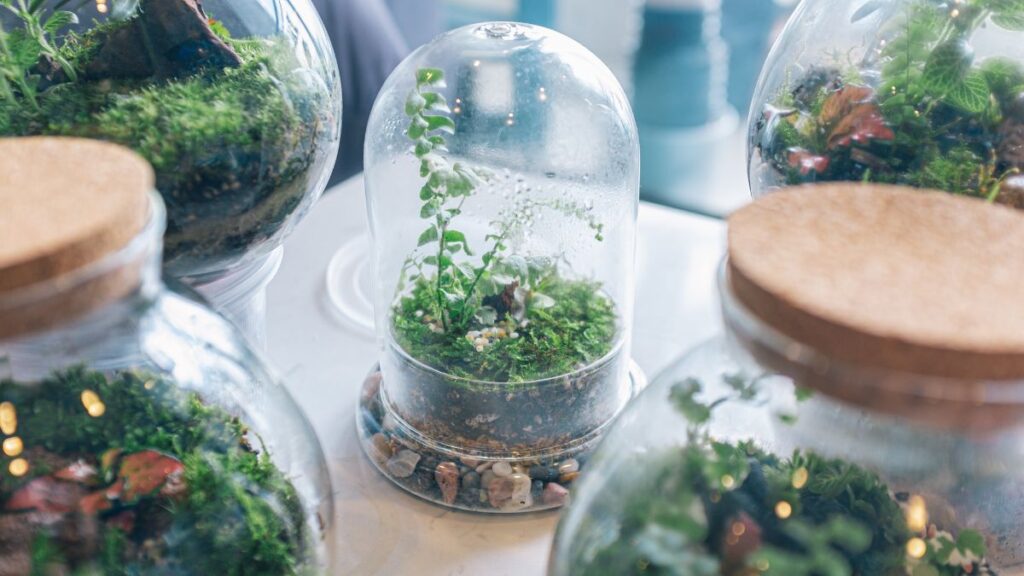
Micro terrariums mix beauty and science, offering a close view of natural processes in a small, clear space. Old, compacted, or depleted substrates root-stunt tiny plants and encourage mold growth, showing that soil refresh routines matter for long-term health.
By exploring this guide, you’ll gain practical, stepwise insight on identifying when to refresh soil, techniques for substrate replacement, and tips for sustaining micro terrarium vitality. Jump in to elevate your miniature ecosystem today!
Spotting Clear Signs Your Terrarium Needs a Soil Refresh
Begin using practical observations to determine if your micro terrarium ecosystem’s substrate demands attention. Detecting early warnings makes soil refresh efforts both timely and successful.
Notice telltale cues: pale or limp plants, odd smells, visible fungi, or slow drainage after watering. These real-world signals point to tired, clogged, or unbalanced substrate—prompting decisive soil refresh steps.
Noticing Plant Health Changes
Look for yellowing, crispy, or drooping leaves as your first signal that a soil refresh is needed. A plant that’s struggling for weeks—despite proper water and sun—points directly to exhausted substrate.
Rootballs crowding near the glass, leaves with brown patches, or moss turning rusty help diagnose specific underlying substrate problems. Changing soil in this scenario snaps plants back to vibrant health.
Dull, faded greens or unexplained leaf loss are clear indicators. When a terrarium’s roots circle above soil or press against glass for long stretches, start planning a soil refresh.
Spotting Substrate Deterioration
Observe compacted, dark, or oddly smelly substrate. A mushy base, visible mold webs, or pools of stagnant water signal decomposition and poor air exchange, showing the need for intervention.
Sand, pebbles, or charcoal layers blending together after months reduce natural drainage and allow anaerobic bacteria to thrive. Replace substrate promptly at this stage for optimal soil refresh results.
Fungus gnats circling or persistently damp patches on the surface mean organic material is breaking down, which releases excess nutrients and toxins—an unmistakable cue for soil refresh work.
| Warning Sign | Root Cause | Typical Outcome | Action to Take |
|---|---|---|---|
| Yellow Leaves | Nutrient Depletion | Poor Growth | Replace substrate, fertilize |
| Mold Growth | Excess Moisture | Root Damage | Soil refresh, reduce watering |
| Stagnant Water | Drainage Failure | Odors/Decay | Improve base layer, soil refresh |
| Pest Presence | Organic Material Breakdown | Wilting, dieback | Soil refresh, pest check |
| Compacted Soil | Natural Settling | Root Constriction | Loosen & replace substrate |
Timing Your Substrate Change for Maximum Plant Thriving
Avoid disruption by syncing soil refresh with natural plant growth cycles and terrarium ecosystem needs. Planning ahead gives plants the healthiest recovery after a substrate overhaul.
Schedule soil refresh in late spring or early summer, when plants enter active growth. This timing lets roots quickly establish in fresh substrate, minimizing transplant shock for vibrant, long-lasting micro environments.
Key Steps for Prepping
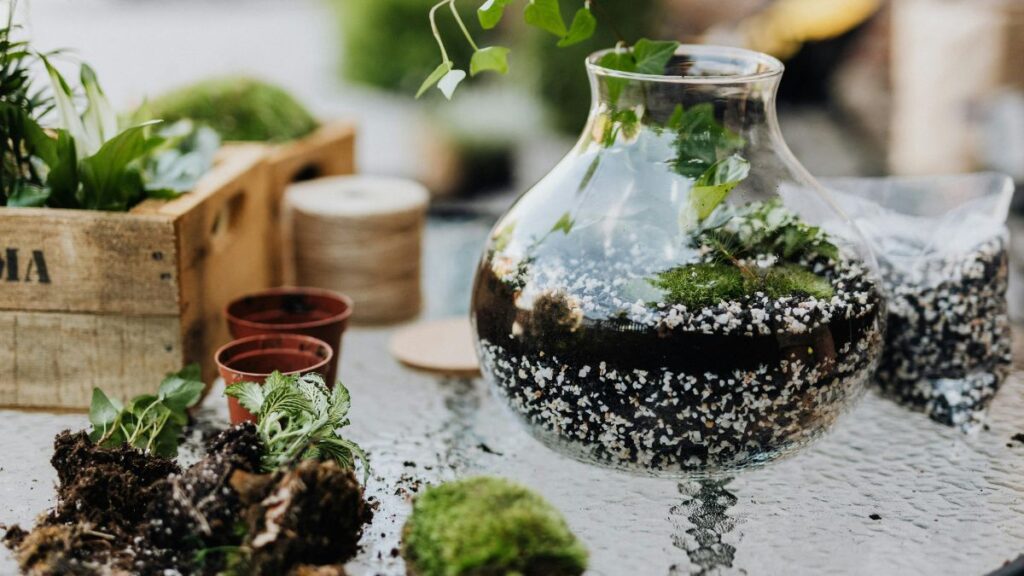
Pick a dry day and clear a stable workspace near your micro terrarium. Gather fresh soil, replacement materials, gloves, and a small scoop, since organization speeds up substrate swaps.
- Remove visible debris and leaf litter before starting to prevent accidental contamination during the soil refresh.
- Hydrate the terrarium lightly about a day in advance; slightly moist soil lifts out cleanly and preserves delicate root systems.
- Check plant roots for rot or crowding at least a week before the scheduled substrate change.
- Prepare a quarantine area for any plants looking weak or infected to protect your refreshed terrarium ecosystem.
- Keep insect populations under control. Microfauna, like springtails, help break down organics, but can explode in old substrate.
With everything ready, your soil refresh goes smoothly, avoiding plant stress and ecosystem imbalance.
Sequencing the Process
Start with gentle plant removal—loosen substrate along the glass, keep roots intact, and lay plants on a damp towel during the swap. Timing each step keeps the micro ecosystem undisturbed.
- Lift roots slowly to avoid bruising. Healthy roots look creamy white and firm and transplant best with minimal fuss.
- Work in batches: swap substrate for two or three plants at a time, then return and stabilize them before continuing.
- Replace charcoal or drainage pebbles, not just the topsoil; the entire micro terrarium ecosystem relies on fresh, clean layers.
- Moisten the new substrate before planting—dry soil draws moisture from roots, causing wilt post-transfer.
- Let re-planted terrariums rest in indirect light for 48 hours. This helps roots establish and reduces shock after a soil refresh.
After implementing these steps, plants typically rebound with energetic new growth and richer foliage colors.
Choosing the Right Replacement Substrate Materials
A well-planned soil refresh uses purpose-built materials, matching substrate blends to specific plant types and desired drainage in your micro terrarium ecosystem.
Fit your material mix to local microfauna—some blends favor earthworms, others invite springtails for efficient organic breakdown, keeping delicate mosses and miniature ferns thriving post-substrate swap.
Mixing Layers for Drainage and Growth
Begin every replacement with a base of washed pebbles or leca. This layer supports drainage and mimics the underlayer in wild soils—vital for healthy soil refresh outcomes in closed terrariums.
Top the drainage base with horticultural charcoal. Charcoal binds toxins and keeps moisture in balance, preventing root rot. Adjust charcoal depth for large versus small terrarium containers as a simple tweak.
Add your main planting substrate last: a matched blend of coconut coir, sphagnum moss, and fine orchid bark. These materials create an airy, low-compaction layer ideal for micro terrarium root systems.
Fine-Tuning for Tough-to-Grow Species
Research preferred blends for each micro terrarium plant species. For example, fit Haworthia or Fittonia with extra sand, while ferns need more organic matter to anchor their shallow roots following a soil refresh.
Carnivorous plants, like sundews, thrive in low-nutrient, high-moss mixes that resist compaction. With moss-only beds, check every three months for patches needing a quick substrate uplift.
In open versus closed ecosystems, bear in mind that open-setups dry out quicker, so mix in more coir or leaf mold for water retention—and log these tweaks for future soil refreshes.
Protecting Microfauna and Minimizing Shock During a Soil Refresh
By updating substrate, you risk disturbing helpful springtails, isopods, or other decomposers that keep a micro terrarium ecosystem running smoothly. Their survival ensures a balanced aftermath to your soil refresh.
Planning protects these miniature helpers. Gentle, staged removal—using soft paintbrushes or tweezers—lets you spot and return microfauna safely to the fresh terrarium layers.
Helping Microfauna Survive Substrate Swaps
Set aside a clean, shallow container with damp moss as a temporary refuge. Relocate springtails or isopods gently using a soft brush or a damp stick as you clear old substrate layers.
Inspect every handful of soil for additional microfauna that hide deeper. Individually move visible creatures directly back into the new substrate as you rebuild the layers.
Mist the new terrarium substrate lightly to keep humidity steady for microfauna. This ensures they recolonize the refreshed environment quickly and resume natural breakdown duties right away.
Reducing Plant Stress During Soil Changes
Handle root balls gently, minimizing dry air exposure by wrapping with a damp paper towel during the refresh. Swiftly return plants, nestling roots at the same depth as before for consistency.
Cut back ragged or overgrown leaves just before re-planting to help plants focus on root recovery during the first days after a soil refresh. This mirrors the way field botanists trim for transplant success.
Delay feeding or fertilizing for at least two weeks post-substrate replacement. This gentler approach allows roots to settle without the added stress of nutrient uptake demands right away.
| Microfauna | Main Function | Substrate Preference | Reintroduction Tip |
|---|---|---|---|
| Springtails | Break down mold | Damp coir, moss blend | Sprinkle onto topsoil after planting |
| Isopods | Aerate soil, eat waste | Leaf litter, bark-rich substrate | Return in batches, check hiding spots |
| Enchytraeid worms | Enhance soil texture | Light, organic-rich mix | Add last, moisten area |
| Predatory mites | Control pests | Slightly moist peat/sphagnum | Place near plant roots |
| Nematodes | Cycle nutrients | Fine, airy substrates | Lightly mist after adding |
Fine-Tuning Watering and Care After a Substrate Replacement
Once you’ve finished a soil refresh in your micro terrarium, adjust your routine. Fresh substrate absorbs and releases water differently, so plants need time to adapt and roots to settle well.
Reduce immediate watering after replanting. Slightly moist soil helps roots anchor and breathe better, and you can resume regular schedules as plants establish steady new growth.
Post-Refresh Watering Sequence
For the first week, check moisture by poking a finger or wooden skewer near the wall. Only water when it comes out nearly dry. This check prevents overwatering in loose new substrate during recovery.
After ten days, you can resume misting or weekly cycles if moss and leaves look healthy. Watch for signs of over-saturation, like cloudy glass panels or slow root recovery, and adjust as needed after a soil refresh.
If plants droop or leaves lose rigidity, let the top layer dry before adding more water. Every terrarium’s microclimate differs, so staying alert to these subtle shifts saves you trouble.
Maintaining a Healthy Substrate Over Time to Delay Frequent Refreshes
Maintaining substrate extends each soil refresh interval. Small, preventive steps keep your micro terrarium ecosystem humming and reduce the need for frequent disruptive changes.
Observe closely for early surface mold or algae. Removing debris, spot-treating, and maintaining airflow around leaves help prevent these minor issues from spreading, supporting substrate longevity.
- Spot-clean leaf litter and dead matter with tweezers every two weeks to reduce fungus buildup and keep the environment balanced.
- Avoid overwatering by maintaining a visual reference: moisture rings on the glass or condensation forming and disappearing within a day.
- Add a shallow layer of fresh sphagnum moss or activated charcoal once a season to boost filtering capacity and absorb odors, buying time before a full refresh is necessary.
- Rotate your terrarium a quarter turn monthly to distribute light exposure evenly, promoting good root health and substrate uniformity.
- Check for root crowding or circling yearly by gently probing a corner with a chopstick. If roots resist, schedule your next refresh soon.
By following these hands-on steps, you extend the health of your substrate and reduce emergency soil refresh situations.
Conclusion: Building Resilient Micro Terrarium Ecosystems with Smart Soil Refresh Routines
Consistent observation, timely soil refresh cycles, and careful handling create thriving micro terrarium environments that last for years. Each step, from spotting early warning signs to gentle substrate swaps, safeguards your ecosystem’s balance and vitality.
Every substrate change revitalizes plant roots, eliminates unwanted pests, and grants microfauna a fresh start. Soil refresh is more than routine—it’s a proactive act supporting the hidden, hardworking community beneath your plants.
Lean on this guide to keep micro terrarium ecosystems healthy and lively. Three or four annual refreshes, plus steady maintenance, ensure lush growth and a sustainable miniature world behind glass.
Frequently Asked Questions
How often should I do a complete soil refresh in my micro terrarium ecosystem?
Most healthy micro terrariums require a full substrate replacement every 9 to 18 months. Signs like compaction, odor, root crowding, or mold indicate it’s time, but spot maintenance can sometimes delay the need.
Can I reuse any of the old substrate during a soil refresh?
Reusing substrate is usually not recommended because it may harbor pests or toxins. However, if top layers appear clean and odorless, you might blend in a small portion with fresh material, but only after baking or sterilizing it.
What should I do with my microfauna during a soil refresh?
Carefully collect microfauna like springtails and isopods and place them in a holding container with damp moss. Return them gently to the refreshed substrate after replanting plants to reestablish essential decomposition and cleaning cycles.
How do I know if my micro terrarium plants have suffered root shock after a soil refresh?
If you notice wilting leaves, stunted growth, or persistent dullness, plants may be stressed. Avoid fertilizer for two weeks, ensure indirect light, and maintain gentle moisture. Most plants rebound with time and consistent aftercare.
Is it safe to fertilize directly after a substrate replacement?
Delay fertilizer use for at least two weeks post-refresh. Fresh soil already includes nutrients and lets roots adjust without chemical stress. Once plants show new growth, resume light fertilizing every month or as the plant species suggests.