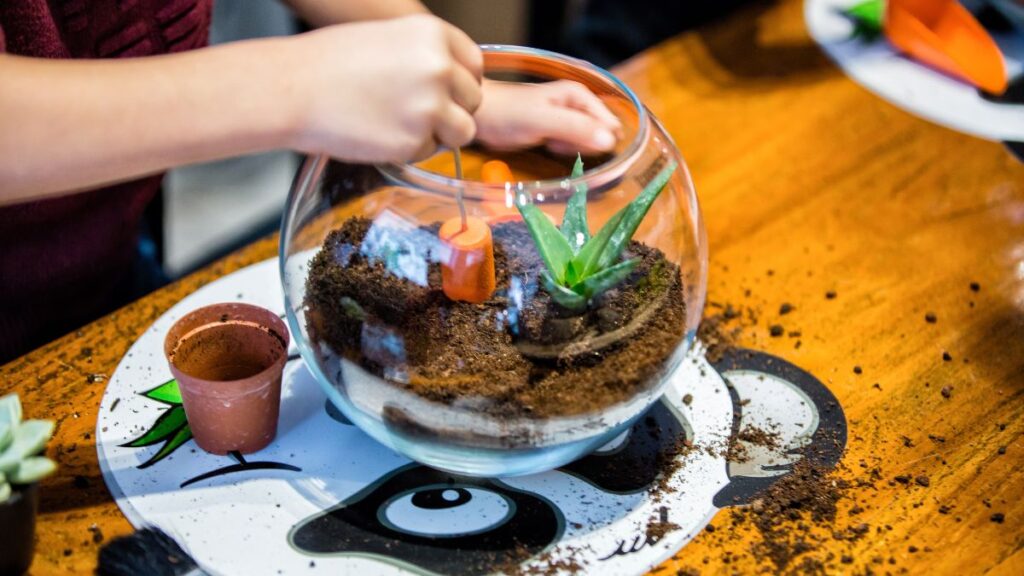
Building micro terrarium ecosystems at home can feel like crafting your own tiny universe, and activated charcoal plays a big part in making those worlds last. Tucked beneath the soil, activated charcoal quietly keeps environments cleaner and healthier by filtering impurities and controlling odors. While many hobbyists buy it pre-made, there’s something satisfying about making activated charcoal yourself for your miniature landscapes.
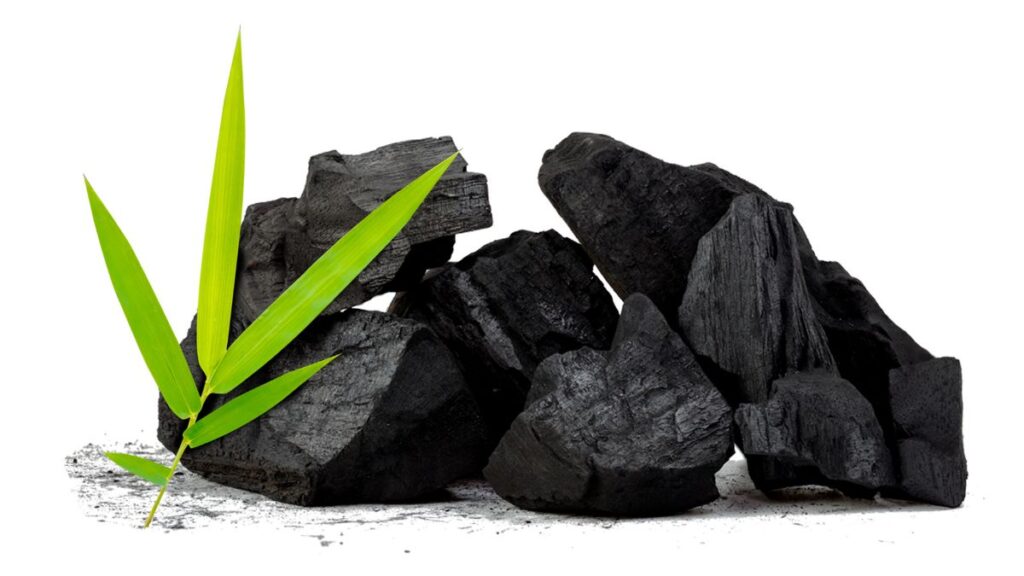
Activated charcoal serves more than a single function. Its porous, sponge-like texture absorbs toxins and keeps your substrate fresh, providing a safe foundation for moisture-loving mosses and delicate ferns. Incorporating homemade activated charcoal in your micro terrarium ecosystem lends a personal, hands-on touch and deepens your understanding of the process.
Curiosity is the best motivator. If you’ve wondered exactly how to create activated charcoal for your terrarium, this guide will walk you through each step – from gathering supplies to integrating the finished product into your ecosystem. Let’s get started on this journey to a fresher, longer-lasting micro environment.
Gathering Supplies for DIY Activated Charcoal
Success begins with thoughtful preparation. To create activated charcoal, choose hardwood material, safety gear, and simple home tools, setting the foundation for a project that enhances your terrarium’s miniature world.
By understanding the required materials upfront, you’ll save time and ensure consistency in every batch. It also helps to know how each item contributes to both the production process and the health of your micro terrarium ecosystem.
Selecting the Right Wood Source
Hardwoods like oak, maple, or birch provide dense structure that’s ideal for making activated charcoal. Select branches free from pesticides, as chemicals can harm your terrarium plants and moss. Avoid driftwood or pressure-treated lumber for safety.
Cut the wood into uniform pieces about an inch thick. Consistent sizing ensures even carbonization and activation later. Sun-dry the wood completely before starting, as moisture slows the process and affects charcoal quality.
Think of hardwood as the skeleton of activated charcoal—for the best results, treat it with the same care as choosing ingredients for a recipe that supports your terrarium’s ecosystem health.
Essential Tools and Safety Gear
Gather a metal container with a lid, tongs, a small shovel, and fireproof gloves to handle hot materials. Use a dust mask and goggles when handling finished charcoal to protect from fine particles. Store all tools and gear together for repeat projects.
Assign a dedicated workspace outdoors, free from wind and distractions. Having a sturdy surface makes each step easier and safer, so you can focus on creating high-quality activated charcoal for your micro terrarium ecosystem.
This checklist ensures every piece of equipment serves a purpose, letting you jump into the charcoal-making process with confidence and efficiency.
| Material | Role in Charcoal | Preparation Tip | Takeaway for Terrariums |
|---|---|---|---|
| Hardwood Chunks | Carbon Base | Dry fully, cut evenly | Even granules for consistent substrate |
| Metal Container | Charcoal Kiln | Punch lid holes for venting | Better heat distribution, less ash |
| Tongs/Gloves | Safety Gear | Heat-resistant materials | Prevents burns or accidents |
| Mortar and Pestle | Grinding Tool | Clean thoroughly | Finer charcoal for micro-substrate layers |
| Dust Mask, Goggles | User Protection | Wear during grinding | Reduce dust inhalation risk |
Sequencing the Carbonization and Activation Steps
Clear sequencing of these steps transforms raw wood into activated charcoal ready for your micro terrarium ecosystem. Applying the right temperature, timing, and filtering ensures a clean, toxin-free component for your miniature plants.
By following a set process, you minimize waste and maximize the effectiveness of the finished product. Doing so continually improves results in both plant health and substrate freshness.
Preparing for Safe Carbonization
Prepare your workspace far away from flammables. Place dry wood pieces in the metal container, seal with a vented lid, and set it into a controlled fire or grill. Heat until smoke lessens (about 2-3 hours), indicating moisture evaporation and carbonization.
Use tongs to remove the container and let it cool fully. Opening it too soon leads to incomplete charcoal or steam burns. Once cool, inspect for blackened, lightweight chunks; these signify a successful base for activation.
Safety during this process ensures not just your wellbeing, but a steady supply of activated charcoal for future micro terrarium ecosystems. Reliable output boosts your confidence and creative control.
Simple Water-Activation Technique
Place cooled charcoal into a large container and pour room-temperature water until fully submerged. This step opens the charcoal’s pores. Let soak for 24 hours, then drain and dry under sunlight or in a low oven, checking for consistent dryness before moving on.
The water-activation step simulates what happens in industrial steam activation, but accessible at home. Ensuring all pieces are exposed to water increases surface area and filtration efficiency for your terrarium substrate’s needs.
Building this step into your routine means every batch of activated charcoal you produce will have better purification and moisture-regulating properties, perfect for micro environments.
- Start fire with kindling and stack container securely; fire control maintains steady temperature for thorough carbonization and reduces incomplete charcoal risks.
- Ventilate workspace outdoors or with exhaust fans; fresh air prevents smoke buildup and supports safe, even heating throughout the carbonization stage.
- Allow full cool-down before opening; premature exposure to air may crack charcoal or harm you, affecting both safety and final substrate consistency.
- Store cooled charcoal in airtight containers; sealing it right away blocks odors and moisture while ensuring activated charcoal stays fresh for later use in the terrarium.
- Monitor water activation time with a timer or app; consistency leads to predictable pore structure, making your charcoal more reliable for filtering in miniature ecosystems.
Following these sequence rules ensures greater predictability and successful results every time, whether you’re creating activated charcoal for one tiny terrarium or a whole shelf of lush scenes.
Refining Your Charcoal for Micro Terrarium Substrates
Finer charcoal equals more purification power. Once you’ve carbonized and activated the charcoal, refining it to suit tiny terrarium spaces will yield better air quality and a neater substrate layer. Here’s how to adjust particle size for your needs.
Grinding and Sifting for Uniform Texture
Work outside, wearing your safety gear. Use a mortar and pestle or small electric grinder. Grind small batches at a time, aiming for fine, powdery pieces with a few larger bits for texture. The mix should look like dark soil, not fragments.
Sift with a kitchen strainer to remove chunks bigger than a pea. Save these for larger planters. For micro terrariums, uniformity matters—too many big pieces can disrupt drainage or dominate the substrate visually. Consistency equals a healthier root environment.
Pour ground activated charcoal into an airtight jar for future use. Label the jar with the date and batch, making it easy to track freshness and results as you experiment with new micro terrarium designs in the weeks ahead.
Experimenting with Mixing Ratios
Test different ratios by blending charcoal with other terrarium layers before final assembly. A typical mix is one part activated charcoal to four parts fine gravel or horticultural sand, followed by your preferred soil.
If you see condensation forming or a musty odor in your micro terrarium, try increasing the charcoal proportion in your next build. Each batch of substrate you blend is an experiment in microclimate management—take notes and observe the changes after a week or two.
When in doubt, use the gardening mantra: start small, observe closely, and scale up improvements with each trial. Consistent note-taking helps you become a true curator of your micro terrarium ecosystem’s health.
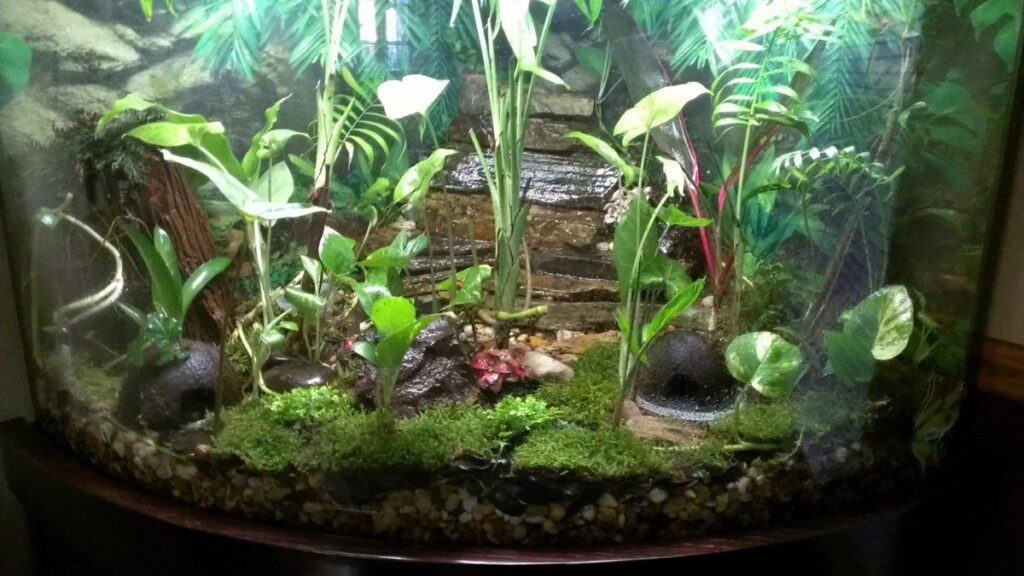
Embedding Activated Charcoal into Living Terrarium Layers
Integrating activated charcoal strategically supports both plant roots and overall tunnel cleanliness in a micro terrarium ecosystem. Placement has a direct effect on atmosphere quality and moisture balance, ensuring a thriving miniature landscape.
Layer your activated charcoal just above the drainage layer (like gravel or pebbles) and directly below the soil. This ‘buffer’ captures dissolved waste before it rises to the plant roots, filtering the water that cycles up and down with each watering.
Arranging Layers for Best Results
Gently pour a half-inch activated charcoal layer after your base substrate layer. Smooth with a clean spoon. The next step is to add soil or moss above, keeping the charcoal invisible but functional beneath the lush greenery.
In a closed terrarium, the charcoal acts like an air-purifying zone, breaking down odor-causing compounds. In open terrariums, it reduces fruit fly risk and helps maintain a neutral smell.
Some hobbyists narrate: “I place the charcoal right under the moss. My hands stay clean, and the terrarium smells fresh month after month.” This easy placement routine can be adopted for consistent success in your builds.
Monitoring and Maintaining Your Ecosystem
Check moisture levels twice weekly. If condensation lingers all day, revisit the amount of activated charcoal or open the lid for air exchange. Charcoal that appears gray and powdery needs replacing—sticky or brown bits can signal it’s time to refresh.
Change out substrate (including charcoal) every twelve months or after mold outbreaks. This keeps your system resilient and visually attractive. Don’t be afraid to tweak the charcoal layer thickness if results fall short of expectations in specific terrariums.
Building a habit of observation and timely intervention ensures that activated charcoal delivers on its promise, sustaining the beauty and balance of every micro terrarium ecosystem on your shelf or desk.
- Position charcoal above the drainage layer for best filtration, keeping water clean for longer periods and reducing root rot potential with every watering cycle.
- Replace layer every 6-12 months; old charcoal loses absorption, which leads to mustiness or stagnant water beneath the lush, living substrate layer.
- Increase charcoal ratio if plants struggle or substrate odors linger. Testing and adaptation make every new terrarium healthier and easier to manage.
- Use visual cues—green algae or persistent fogging mean it’s time to refresh. Trusting your eyes, not just a calendar, sharpens your skills as a terrarium caretaker.
- Keep tools sanitized between uses so you don’t introduce mold spores while setting up layers. Clean implements help preserve the activated charcoal’s effectiveness for weeks to come.
Each bullet is an actionable reminder for daily or monthly care, echoing routines that shape resilient, visually appealing micro environments built on home-crafted activated charcoal.
Creative Upgrades: Custom Charcoal Effects for Unique Terrarium Vibes
Activated charcoal isn’t just a hidden helper—it’s part of the art in your micro terrarium. Tweak particle size, color, or arrangement to echo a landscape’s personality, turning technical needs into aesthetic features.
Try layering dual-texture charcoal: course pieces for mountain scenes, powder for flat “lawn” displays. You can even mix in bits of safe mineral or colored sand to evoke riverbeds or volcanic craters, supporting root health while telling a visual story.
Color Experiments: From Deep Black to Subtle Grays
If you want your substrate to be visually striking, roast your hardwood slightly shorter or longer, exploring the shift from jet black to varied charcoal gray. Slight color differences allow for layered contrasts that support moss or miniature trees as focal points.
It becomes a conversation starter: “This gray stripe marks where I controlled the fire for less time.” Substrate variations inspire creative terrarium layouts every time you open a new vessel and arrange your materials.
Remember, don’t introduce commercial dyes or food coloring, as they can leach chemicals. Stick to roasting and choice of wood for safe, natural color variety that still performs in keeping your ecosystem clean.
Texture as a Design Element
Lay coarser chunks in winding patterns as dry stream beds, top them with fine powder for smooth terrain, or blend both for mixed meadow scenes. Texture makes your terrarium look more lifelike and can signal zones of moisture or dryness for different plants.
Run your fingertip across the surface—rough patches mimic rocky valleys while smooth expanses resemble fertile plains. Tactile variety helps you adjust watering and planting strategies intuitively as your experience grows.
Over time, record your favorite effects in a design journal to reference when planning your next micro ecosystem. Personal notes transform routine crafting into a tailored art practice, resulting in one-of-a-kind landscapes powered by activated charcoal.
Evaluating Everything: Quality Checks on Your Homemade Charcoal
Becoming an expert builder means always assessing results. Testing homemade activated charcoal in your micro terrarium ecosystem raises the bar for plant health, reduces troubleshooting, and builds a sense of accomplishment with each round.
Drop a small pinch of charcoal in a glass of water; if bubbles appear and the water stays clear, you’ve made high-quality material. Batches with strange smells, discoloration, or dustiness might need adjustments or fresh supplies for peak performance.
Records and Notes for Consistency
Jot down dates, wood sources, activation times, and observed plant responses in a notebook or phone app. Reliable notes allow future projects to skip guesswork, so every new terrarium benefits from past successes and lessons learned.
Compare growth rates and odor levels across multiple setups. Consistent results (clear water, strong plant color, fresh scent) indicate an ideal charcoal recipe for your mini ecosystem. Outliers point to tweaks you can make next time for better outcomes.
Sharing your process (with photos or steps) in hobby groups can draw helpful feedback. Community knowledge builds better homemade activated charcoal techniques and more resilient micro terrarium ecosystems for everyone involved.
Renewing Your Commitment: Charcoal Maintenance Routines
Routinely refreshing and recycling activated charcoal sustains your micro terrarium’s clean environment. Each scheduled replacement gives your plants a healthy foundation and reduces maintenance headaches, reinforcing good care habits over time.
Mark the calendar or set reminders to check for fading charcoal properties every 6–12 months. Sticking to a consistent schedule keeps micro ecosystems robust without surprises from odor buildup or substrate failures mid-season.
Shake loose dirt gently from roots when changing layers, ensuring no old charcoal is left behind. Rinse the terrarium vessel well—clean vessels and fresh layers combine for optimal replanting experiences and happier mini worlds.
Frequently Asked Questions
What’s the main benefit of making activated charcoal at home for micro terrarium ecosystems?
Homemade activated charcoal offers more control over materials and freshness, keeping your terrarium free of chemicals and allowing you to customize for specific plants and moisture levels.
How often should I replace the activated charcoal layer in my micro terrarium?
It’s a good practice to refresh the charcoal every 6 to 12 months, or immediately after a major mold outbreak, to keep the terrarium clean and the plants thriving.
Can I use barbecue charcoal instead of homemade activated charcoal in my terrarium?
Barbecue charcoal is not recommended, as it frequently contains chemical additives and impurities that can be harmful to terrarium plants and moss, disrupting the ecosystem’s balance.
Is activated charcoal necessary in every type of micro terrarium ecosystem?
Activated charcoal is most effective in closed terrariums, but also provides benefits in open systems or humidity domes by filtering impurities and reducing unwanted odors, especially in high-moisture builds.
What’s a safe way to handle and store activated charcoal for future terrarium projects?
Always wear gloves and a mask when grinding or handling charcoal. Store finished batches in clean, airtight containers in a cool, dry place to maintain filtration properties over time.