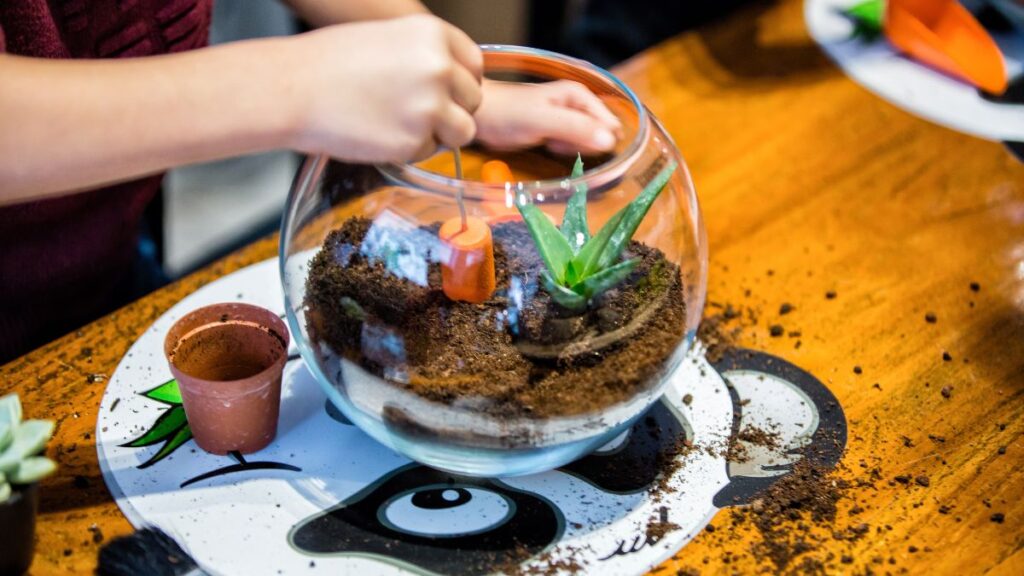
Small-scale terrarium enthusiasts know the satisfaction of arranging plants just right. Precision and patience go hand-in-hand, and using the right planting tools transforms that process. Even with minimal investment, achieving intricate layouts inside a glass mini ecosystem is possible.
Micro terrarium ecosystems have boomed in popularity, offering accessible, low-maintenance green displays for homes, desktops, and classrooms. Getting the most from these compact spaces requires careful selection and adaptation of planting tools designed for tight, humid, and glassed-in environments.
This article dives deep into affordable planting tools engineered for miniature planting. Whether you’re starting out or refining your terrarium game, you’ll discover practical solutions—plus creative hacks—so your plants thrive while your wallet stays happy.
Set Up Small Terrarium Spaces with The Right Tools and Techniques
Effective mini ecosystem planting starts by setting up your workspace and tool kit. Knowing which planting tools to grab makes every step, from soil layering to precise foliage placement, less daunting and more enjoyable.
Before diving hands-first, line up your basic equipment. Consider what you’ll actually use: tweezers, long-handled scoops, water droppers, and micro spatulas help reach into narrow corners. Feel free to substitute with household equivalents.
Use Tweezers and Spatulas for Delicate Planting
Long, thin tweezers are invaluable for moving moss or delicate roots in glass containers. With practice, you’ll gently nestle new shoots behind established plants or decor. Always grasp stems lightly, lowering them into place with slow wrist movements.
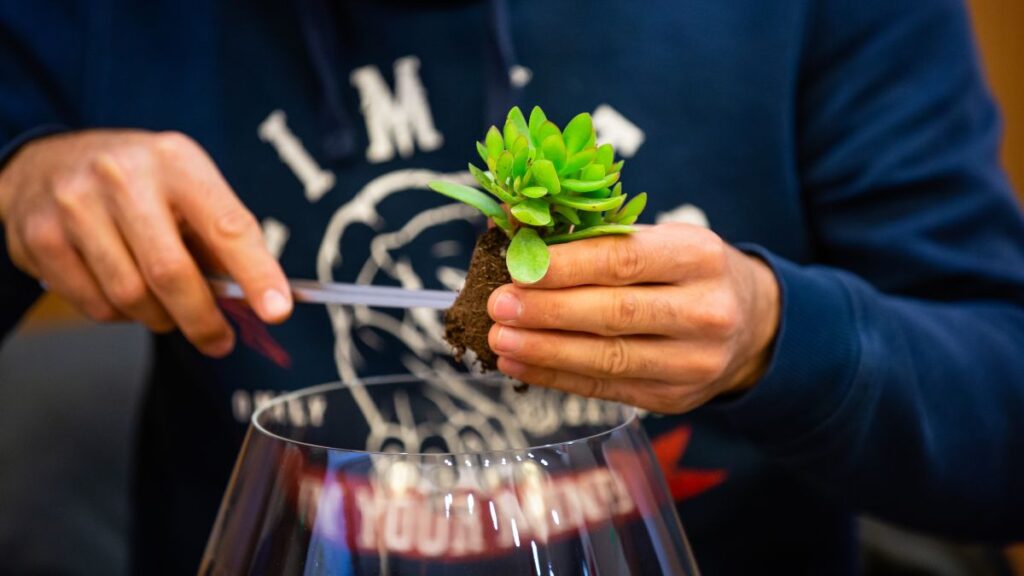
Spatulas designed for baking or laboratory use can be pressed into planting service. Their flat tips help create planting holes and tamp down substrate without disturbing surrounding soil or crowding neighboring roots, ensuring a stable base.
By combining tweezers for maneuvering and spatulas for substrate shaping, you gain greater control inside limited space. Echo the steadiness of slicing cake or flipping a pancake—steady hands yield best results in both arenas.
Adapt Household Items for Terrarium Use
Household tools add flexibility to your planting! For example, a chopstick serves as a dibber for making planting holes. Use a turkey baster as a gentle watering device, targeting roots without drenching the mini ecosystem.
Cotton swabs work for fine substrate adjustments and cleaning glass edges. Small kitchen funnels enable precise pouring of soil or sand, avoiding messy spillage inside the terrarium. Repurpose paintbrushes to tidy leaves and surfaces without moving soil.
Mixing store-bought and household planting tools saves money and empowers readers to experiment. The result: micro terrarium setups look sharp, and creative problem solving grows along with your plants.
| Tool Name | Main Use | Household Equivalent | When to Upgrade |
|---|---|---|---|
| Long Tweezers | Plant positioning, decor adjustments | Grill or kitchen tongs | Use pro-grade if planting frequently or with fragile roots |
| Micro Spatula | Hole-making and tamping soil | Small butter knife or spoon handle | If hand cramps, switch to ergonomic spatulas |
| Fine Spray Bottle | Dewing leaves, gentle watering | Clean hair spray or misting bottle | Upgrade for finer mist or leakproof design |
| Funnel or Scoop | Pouring soil or sand | Paper or plastic funnel | Upgrade for multi-size, anti-static features |
| Dropper or Pipette | Targeted watering and liquid fertilizer | Old medicine dropper or turkey baster | Upgrade for precision or large collections |
Pick and Use Budget-Friendly Terrarium Planting Tools for Maximum Precision
Affordable planting tools can rival high-end sets if used properly. Focus on function and value—there’s no need to splurge on branded terrarium supplies until you develop preferences through hands-on practice.
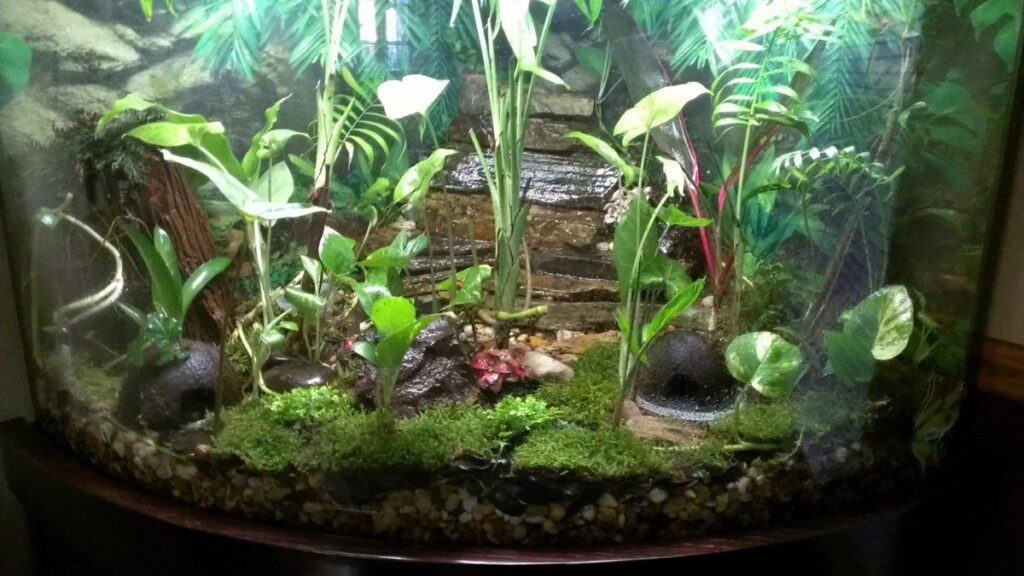
In these glass-bound jungles, miniaturized shovels, rakes, and tampers let you place soil and plants with surgeon-like accuracy. Consistent results matter most, not price tags or trendiness.
Quick Checklist: Assemble an Essential Starter Kit
Keep your toolkit simple at first, adding only as your terrarium skills and ambitions expand. You’ll discover personal preferences as you experiment with different styles of planting tools and homemade substitutes.
- Use 10- to 12-inch tweezers for reaching all corners—buy medical or aquarium-grade for precision, or substitute with long chopsticks or tongs depending on your setup.
- Include a long micro spatula for pushing soil and helping position moss. If unavailable, a butter knife (non-serrated) can substitute for shaping without excess soil disturbance.
- Try a small spray bottle for humidifying the micro terrarium ecosystem; make sure mist is fine. Clean and repurpose a travel cosmetic bottle for added savings and reliability.
- Add dropper pipettes for accurate watering, especially when working with tiny succulents or sensitive root systems. Eye drop bottles, once sanitized, are effective alternatives.
- Incorporate small brushes for brushing off soil or water from leaves—soft makeup brushes are gentle and versatile for cleaning glass and maintaining plant health inside the terrarium.
Test your set on practice projects before investing in more specialized planting tools. Refining your kit as you go saves cash and frustration, supporting creative experimentation within micro terrarium ecosystems.
Find Alternative Solutions for Everyday Needs
Improvisation expands possibilities and minimizes costs. Everyday household objects often outperform store-bought planting tools in agility, reach, or gentleness—plus, they’re readily available for quick fixes.
- Repurpose plastic drinking straws by trimming one end at an angle; use for planting tiny seeds by tapping the straw to release them into pre-made soil holes.
- Cut the handle off a spoon or fork to create a custom-length soil scoop, perfect for layering substrates deep inside tall or narrow terrarium walls.
- Use plastic pipettes left over from kids’ science sets for watering rare moss tufts or for delivering diluted fertilizer directly to root zones with pinpoint accuracy.
- Bend a paperclip into a U-shape to gently untangle plant roots before planting and to rearrange decorative stones without disrupting the substrate below.
- Snip thin cardboard into strips for scraping excess soil off glass or making precise edgings between substrate layers; discard and replace as needed for a clean finish.
Blend these creative swaps into your routine, and you’ll gain confidence in both your planting toolset and problem-solving abilities within micro terrarium ecosystems.
Sequence Each Planting Task for Clean, Consistent Results
Order matters when creating lasting displays inside miniature glass containers. Sequence reduces mess and stress: always prep planting tools, plan design, and complete tasks step by step—never all at once.
Lay out chosen tools in project order, like a chef prepping ingredients. As each step is finished, move to the next. This method preserves micro terrarium aesthetics and streamlines your planting workflow.
Scenario: Planting a Mini Fern with Household Tools
A reader working with a tall jar arranges moss at the base with extra-long tweezers, then uses a plastic spoon handle to make a planting hole. They check spacing visually before lowering a baby fern using chopsticks held like grilling tongs.
After situating the fern, a makeup brush sweeps soil from leaves, and a trimmed straw targets water to the roots. Each move feels intentional and reduces the risk of disturbing other plants or decor. The glass walls remain clear and condensation-free.
This orderliness mirrors baking a layered cake, where uneven mixing yields poor results. Finish your mini terrarium by reviewing plant spacing before giving a final spritz. Angle the spray away from glass to avoid unsightly water spots.
Sequence Your Routine for Better Plant Health and Visual Appeal
Start with a base cleaning—wipe interior glass with a soft cloth and inspect for dust or fingerprints. Only assemble your planting tools after the workspace is clean and organized.
Layer substrates, such as pebbles, charcoal, and soil, before adding plants. Use funnels and spatulas for neat lines. Once planted, tidy up the micro ecosystem with a brush or cotton-tipped swab, ensuring each plant sits upright.
Finish with a light watering, watching how water pools and runs within your setup. If puddles form, adjust with pipettes or a dry brush. This organized process keeps plants healthy and enhances the overall design of your terrarium.
Build Confidence and Creativity in Terrarium Planting Projects
Affordable planting tools and creative substitutes give everyone a chance to shape lush micro terrarium landscapes. Hands-on practice, deliberate tool selection, and clever improvisation open the door to beautiful and thriving mini worlds.
Precision, not expense, delivers rewarding results inside every glass ecosystem—whether you’re replanting moss, adding rare succulents, or cultivating your own rooted cuttings. A handful of strategic tools makes each moment more enjoyable and less risky for your plants.
Take what works from each tip, tweak your toolkit as your style develops, and enjoy steady progress. Your next terrarium project can be both fun and affordable with a thoughtful approach to planting tools and workflow.
Frequently Asked Questions
What are the most essential planting tools for micro terrariums?
Start with long tweezers, a small spatula, and a fine water dropper or spray bottle. A household chopstick, trimmed straw, or makeup brush can substitute. These tools help with gentle plant movement, soil shaping, and precise watering inside tight glass spaces.
How can I clean my planting tools between uses?
Wash metal planting tools with warm, soapy water and a soft brush, then dry thoroughly to avoid rust. For plastic or wood tools, use a mild vinegar solution and rinse well before air drying. Always inspect for debris before each terrarium session.
Can I build my own terrarium tool kit without buying specialty items?
Yes! Repurpose long kitchen tongs, old medicine droppers, or makeup brushes. Adapt small kitchen utensils, clean straws, or chopsticks for fine placement and adjustments. Customizing your kit saves money and may suit your hands or workspace better than commercial sets.
What’s the easiest way to avoid damaging tiny roots when planting?
Use tweezers or chopsticks with smooth, rounded tips. Ease roots into soil with a back-and-forth rocking motion, not force. Dampen the roots slightly before planting to add flexibility and reduce snapping risk. Take your time so each specimen is well supported within the micro terrarium ecosystem.
Why use separate tools for watering versus planting in a mini ecosystem?
Dedicated tools for watering prevent cross-contamination and allow finer control. Watering tools, such as pipettes or spray bottles, target specific plants and avoid splashing soil onto glass panels. Keeping them separate from planting tools ensures healthier, more attractive results in your micro terrarium.