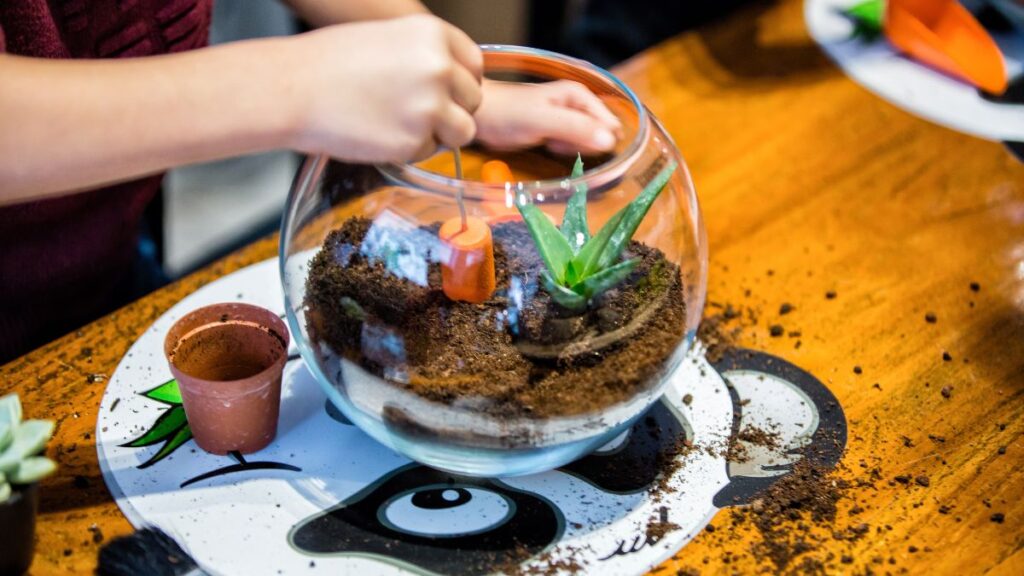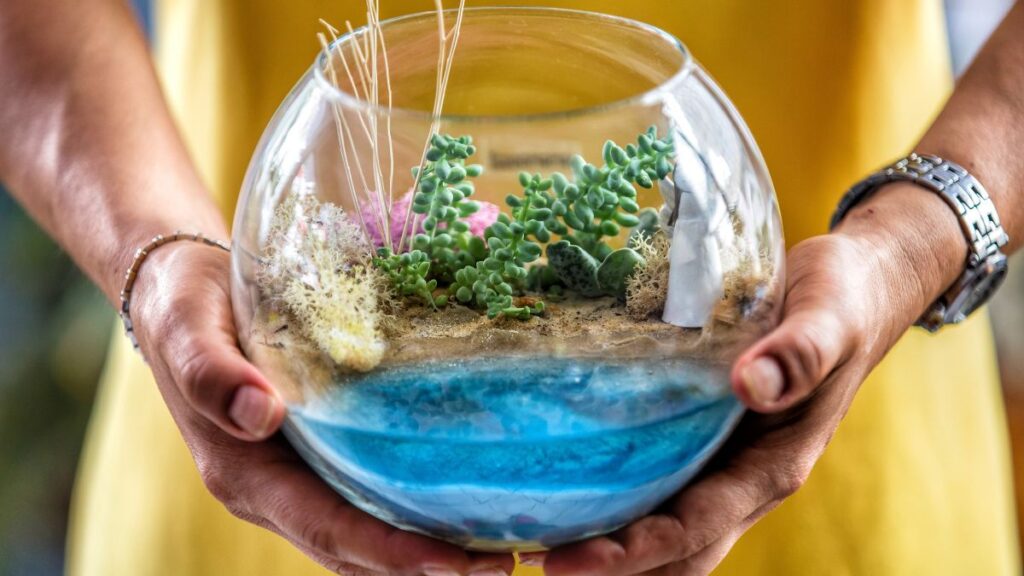
Picture a micro terrarium ecosystem where every glance reveals a tiny story. The secret isn’t just the plants, but the little scenes suggested by well-made terrarium backgrounds: rocks, driftwood, or artful backdrops.
Micro terrariums thrive on details. A thoughtfully crafted background shapes the visual flow, making your glass garden more immersive and enjoyable. Choosing or DIY-ing terrarium backgrounds lets your micro world feel personal, meaningful, and alive with narrative.
Ready to unlock the most captivating micro-ecosystems? Below, you’ll find actionable steps, realistic examples, and expert guidance to help you craft terrarium backgrounds that inspire discovery and delight. Let’s dive in!
Establishing a Visual Narrative with Backgrounds
Every lasting terrarium ecosystem benefits from a clear visual theme. Defining your micro landscape’s “story” helps you select or construct the ideal terrarium backgrounds for sustained visual interest.
Before reaching for materials, decide what tale your miniature space tells—a mossy forest, desert rim, or rain-soaked bluff. “I want this to feel like a secret mountain valley,” is a strong starting guide.
Setting the Story’s Tone with Materials
Material choice drives atmosphere. If you’re designing a lush jungle, tree-bark backgrounds paired with mossful nooks amplify the setting. Rocky sheet cork or textured foam might suit a desert edge.
Imagine crafting a scene that mimics the layered strata at a creek bed using small slate pieces—aligning the visual story with the actual materials used grounds the ecosystem in realism.
Start experimentation early, placing pieces behind container glass and snapping quick photos. This lets you preview the effect before committing, minimizing glue or major changes down the line.
Sequencing the Scene: From Backdrop to Foreground
Begin with major background elements before adding moss, gravel, or twigs. Anchor large pieces first, then work forward in layers—this structure mirrors nature’s own patterns.
If a branch or ridge isn’t stable, reposition while the scene remains flexible. Even miniature scenes benefit from this step-by-step depth building strategy.
Complete the main backdrop, check sightlines from every angle, and only then plant foregrounds or add decorative accents.
| Background Material | Optimal Use | Maintenance Need | Best For |
|---|---|---|---|
| Cork Bark | Vertical backgrounds for moisture-loving plants | Low; occasional misting | Mossy forests |
| Rock Slabs | Natural cliff effect, dry or succulent layouts | Rinse during replanting | Desert and rocky scenes |
| Textured Foam (sealed) | Sculpted hills or roots, customizable | Check for algae buildup | Fantasy settings |
| Wood Panels | Warm, rustic backdrops | Treat for fungi | Woodland environments |
| Printable Photo Sheets | Easy scene swapping | Replace if warped | Seasonal or story-driven designs |
Making DIY Terrarium Backgrounds with Household Items
Creating terrarium backgrounds doesn’t require specialty products. Plenty of household objects transform into professional-looking micro landscapes with a creative eye and steady hands.
Safe, lasting backdrops come from repurposing recyclable materials and natural finds. Try old packaging foam or broken pottery shards—each can be shaped to fit a landscape’s dimensions and narrative.
Everyday Materials that Work for Micro Terrarium Backgrounds
Egg cartons painted with earth-toned acrylics create textured, cave-like backgrounds perfect for natural micro environments. Old CDs reflect light in aquatic-style scenes for a bit of underwater shimmer.
- Bend cardboard for curved cliff faces, coat with aquarium-safe glue, then layer with sand or gravel for stability and realism.
- Shape leftover packing peanuts, seal them in cling film, cover with dry moss, and set behind terrarium layers to simulate uneven greenscapes.
- Re-use chipped tile or pottery in jagged placements to mimic rocky crests or tumbling scree hills—especially suited for dry biomes or fantasy themes.
- Laminated magazine pages work as photographic backdrops that invite easy swaps; select images with scale, like forest floors or distant woodlands.
- Repurpose mesh produce bags, stretching them inside the glass. Coat with non-toxic paint and dried leaves to achieve intricate, webby roots or vines.
Small tweaks—like layering river pebbles or snipping artificial plants for “ferns”—personalize each household item-based creation.
Best Practice: Gluing and Sealing for Durability
After shaping your base, always use aquarium-safe glue underneath layers to anchor components and prevent shifting. Dry fully before adding plants or substrate.
- Double-seal pieces with clear silicone if exposure to humidity or splashing water is expected, reducing breakdown or mold risk.
- Keep all sharp edges facing away from container walls to avoid scratches or cracking the glass.
- Handle with clean gloves while installing, preventing skin oils from interfering with paint or adhesives.
- Allow at least 48 hours for all adhesives to cure in a well-ventilated space before closing the terrarium lid.
- Do a final wipe-down with a microfiber cloth so your finished terrarium backgrounds look crisp and clear under glass.
These steps raise the longevity and appearance of every creative DIY background.
Painting and Texturing for Natural Effects
Adding paints or surface textures gives terrarium backgrounds authentic depth. Select colors and finishes that echo your intended terrain, and test swatches before applying to finished builds.
Use matte, waterproof acrylics in muted greens and browns for earth-based stories; metallic hues or dry-brush techniques simulate dawn-lit stones or sun-bleached wood for arid environments.
Layered Painting: Building Up Realistic Surfaces
Apply dark base coats, then gradually highlight natural ridges or cracks in lighter tones. This imitates real weathering and makes even small scenes appear layered and aged.
Mist a diluted paint mix for soft gradients. Dab with a sponge rather than a brush to mimic moss, soil, or lichen textures without hard edges, giving the background softness and dimension.
If replicating riverbanks or mudflats, press fine sand into a still-wet paint layer. Tap off excess and seal with clear spray after drying for a tactile, geologically accurate feel.
Texturing Processes for Realism
Texture elevates terrarium backgrounds from “flat” to immersive. Use a stippling motion with root brushes to break up uniformity, or scrape parallel grooves for simulated tree bark.
For rocky or craggy effects, crumble bits of dried clay and sprinkle onto still-tacky surfaces. Once set, accent each lump with spot highlights for extra drama.
To make faux moss patches, dab green-tinted glue onto select sites, then stick preserved sheet moss or chopped craft moss gently into place, creating miniature groves.
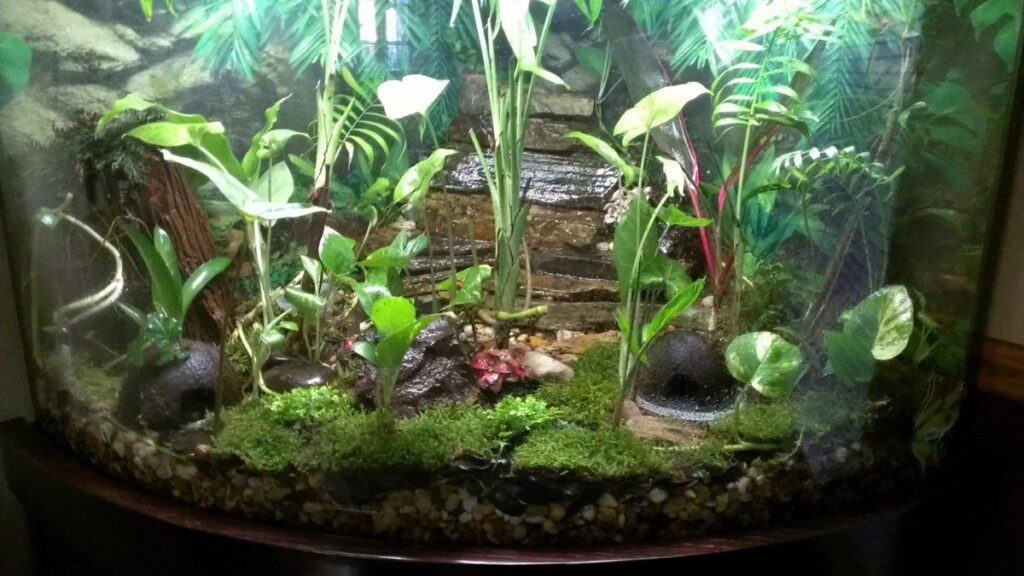
Realistic Miniature Scenes: Taking Cues from Nature
Nature’s drama translates beautifully to a micro terrarium. Replicating real-life environments in miniature both delights the eye and offers a memorable storytelling anchor for your build.
Split a woodland log’s shape into uneven slices. Stack these subtly in the background to evoke ancient, toppled trees, just as a hiker might stumble on a hollowed trunk in the wild.
Scene Example: Forest Edge with Hidden Nook
Imagine a background crafted from a single chunk of cork bark, angled just right to resemble a canopy’s downward slope. In the nook behind, tuck a tiny figurine or a sprig of delicate moss.
Test placement by standing at eye level and slowly rotating the glass—find the spot that looks secretive but not hidden from all sides. This simple “peek-a-boo” approach makes every viewing angle interesting.
To finish, seat smaller stones or bark shavings along the base so your centerpiece blends gently into the soil layer, just as in the forest.
Scene Example: Miniature Cliff-and-Stream Drama
Create a rugged rock face using textured foam, then paint in muted grays with thin, zigzag cracks. Add blue resin to suggest a tiny watercourse cascading down one side.
Keep stream size proportional—tiny lines, no larger than a pencil’s width, look most realistic in micro terrarium settings. Anchor “banks” with river pebbles or fine aquarium sand.
If you want a focal hero, nestle a mini bridge or foil-lined “pool” at the scene’s base, showcasing the power of terrarium backgrounds to evoke full landscapes at miniature scale.
Finishing Touches and Ongoing Care
Once your micro-ecosystem’s terrarium backgrounds are set, finishing details keep the illusion strong. Add miniature accents like tiny ladders or signs to reinforce the narrative.
Balance whimsical pieces with authentic botanical touches. For example, use dried seed pods as “tree stumps” or flat pebbles as “stepping stones” to ground the story in the miniature habitat reality.
- Use a feather duster to gently clean backgrounds every two weeks, removing algae and debris without disturbing small plants.
- Spot-check the bond between glass and background at monthly intervals, reapplying silicone if needed to ensure long-term safety.
- Replace faded photo sheets or background art at the seasonal change to keep ecosystems fresh and reflective of real-life cycles.
- Monitor humidity levels, as sealed backgrounds hold more moisture; open the lid for airing out if condensation becomes significant.
- Re-imagine scenes after a replanting day by rearranging small accents, keeping the entire terrarium ecosystem dynamic and engaging over time.
Continual minor tweaks ensure your micro terrarium stories remain vivid and compelling for viewers old and new.
Conclusion: Turning Tiny Backgrounds into Big Stories
Terrarium backgrounds transform micro-ecosystems from plant containers into personal worlds. By combining natural materials, creative crafting, and thoughtful placement, every tiny habitat becomes its own storybook village under glass.
From playful cliffs to moody forest nooks, attention to background design anchors the miniature world’s mood and message. Each artistic decision shapes how viewers experience and connect with your ecosystem.
There’s magic in every micro scene. With a little time and genuine attention to backgrounds, you’ll create terrarium stories that grow more imaginative with every glance—and every season’s change.
Frequently Asked Questions
What materials are safe for micro terrarium backgrounds?
Aquarium-safe silicone, cork bark, rock, untreated wood, and sealed craft foams all work well. Avoid anything with chemical coatings or dyes unless labeled for aquatic or pet terrarium use. Always wash and dry materials thoroughly before installing them into your micro ecosystem.
How can I make the background waterproof?
Double-seal any porous material with clear aquarium silicone or an appropriate non-toxic sealant. Let it dry completely in a vented space for 48 hours before planting. This prevents waterlogging and ensures your terrarium backgrounds last in humid environments.
Do backgrounds affect plant health?
Terrarium backgrounds support upright plants and boost humidity, but never block drainage or airflow. Maintain a gap between soil and background lower edge. Watch for mold on wood; clean the glass as needed to let light reach all plants evenly.
How do I swap backgrounds without disturbing plants?
Use removable photo sheets or loosely wedged bark panels for easy swaps. For glued designs, gently tilt and slide backgrounds out sideways, taking care not to crush roots or stems near the back glass.
Is painting necessary for DIY terrarium backgrounds?
Painting adds realism but isn’t required. For more lifelike scenes, choose earth-toned, waterproof paints and use sponges to dab instead of brushing. Painted touches mimic rock layers, moss, or soil detail, enriching your micro terrarium storytelling naturally.