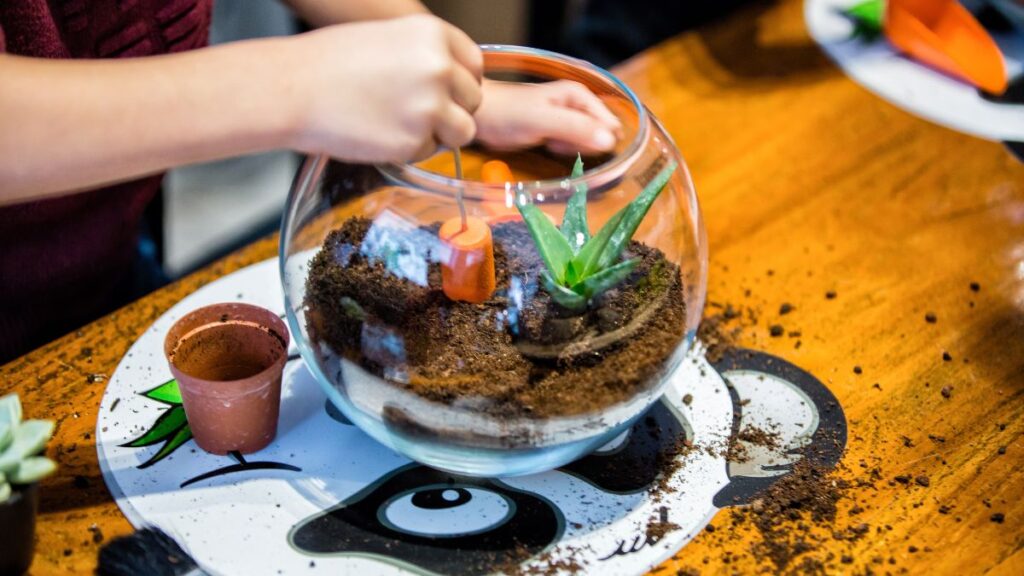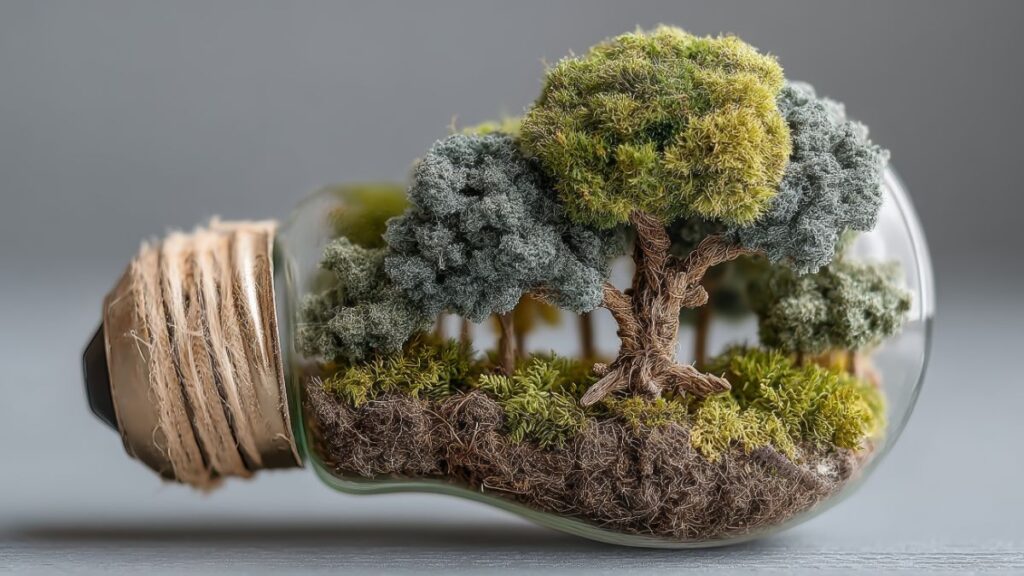
The small world inside a micro terrarium ecosystem comes to life when every part fits securely—plant, substrate, décor—all held by reliable adhesives and sealants that make creative builds possible.
Whether you’re attaching driftwood, sealing glass corners, or mounting miniature props, every build benefits from the right product choice. Mistakes can lead to leaks, decay, or irreparable damage in your terrarium’s ecosystem.
Read on to see which adhesives and sealants can keep your micro habitat thriving, how to apply them without hassle, and smart hacks for lasting, healthy results in every build.
Matching Product to Purpose: Saying Yes to Safe and Effective Options
Picking the right adhesives and sealants locks in terrarium longevity and strengthens every creative detail. Begin with one rule: only use products marked non-toxic and waterproof for plant and animal safety.
Always skim labels for the word “aquarium-safe” or “VOC-free.” Anything meant for bathroom tiles, exterior wood, or glass works if it’s certified non-toxic—otherwise, skip it for terrarium work.
Sorting Glue Myths from Facts
People often reach for school glue or super glue, imagining any sticky substance will do. However, classic white craft glue dissolves in moist environments, while cyanoacrylate (super glue) forms brittle bonds.
Instead, check for specialized aquarium silicone or construction-grade, plant-safe adhesives—these won’t break down with moisture and rarely leave harmful residue. “Is this safe for a planted tank or critter habitat?” is a smart test phrase to remember.
Even when the label looks promising, do a quick patch test on scrap material. Let pieces cure for 48 hours before use. Wait for smells to disappear completely—if any odor lingers, the product may harm your ecosystem.
Understanding the Build Context
Think about your vision: “I’m creating a multi-level moss garden with cork bark.” For complicated layers, slow-curing adhesives and sealants suit best because they allow repositioning and a firm, waterproof grip.
In contrast, a simple flat stone stacking project can use quick-dry transparent adhesives. Watch for instances where spillover could touch roots—only use fully inert products around living plants and moist substrate.
Some builds involve temporary props. For decorations you plan to change, look for peelable or reversible mounting gels. Always weigh drying time against your timeline before making permanent joins.
Comparing Popular Options: Table
| Product Type | Safe For Plants | Waterproof | When to Use | Takeaway |
|---|---|---|---|---|
| Aquarium Silicone | Yes | Yes | Sealing glass, heavy décor | Wait 48 hours for full cure, never apply to wet surfaces |
| Hot Glue (Low Temp) | No (only dry props) | No | Temporary, dry props only | Never use near roots or moisture |
| Epoxy Resin | Sometimes | Yes | Rocks, permanent fixtures | Check for plant and animal compatibility |
| Super Glue Gel | Yes (after curing) | Yes | Quick bonding, small decorations | Use only tiny amounts, away from roots |
| Clear Mounting Tape | No | Varies | Temporary display props | Remove before watering; never touch substrate |
Executing Clean Bonds: Stepwise Success Every Time
Every successful terrarium build relies on detail-focused application of adhesives and sealants. Wipe surfaces first and double-check positioning to avoid uneven joins, visible blobs, and wasted material.
Slow, careful handling prevents misaligned parts and accidents. “Lay the layer, step away for two minutes, return, adjust if needed”—that’s a process that produces crisp, durable results in glass corners or miniature props.
Checklist for Prepping Surfaces
• Remove any loose dirt, moss, or sand from the item you’ll be gluing. This ensures adhesives and sealants create strong bonds and prevents peeling.
- Wipe dry glass and wood before applying products for maximum grip.
- Test fit all items to confirm alignment before you begin bonding to reduce mess and errors.
- Let every surface air dry fully if it’s been wet before application.
- Never apply adhesives or sealants over moss, leaves, or organic debris—they degrade bonds.
- Have toothpicks or small paintbrushes ready for spreading and shaping product lines with precision.
After prepping the work area, move on to the application stage, keeping all basic tools close to prevent mid-step disruption and help your project flow smoothly.
Applying for Longevity and Appearance
• Use as little product as needed, especially near visible glass, to prevent unsightly streaks or cloudy spots. Neat lines mean less clean-up and better transparency later.
- Run a single shallow bead for glass-on-glass seams and use a moist fingertip to smooth it instantly.
- Hold décor in place gently for five to fifteen minutes, depending on curing speed, to guarantee a bond that withstands movement.
- Pin or brace heavier items with soft supports—sponges or rubber bands prevent slippage and keep pressure even.
- Layer in stages: bond major supports first, let cure overnight, then attach lighter decorations. This builds structural integrity without rushed missteps.
- Clean up edges before adhesive sets using a plastic scraper or cotton swab for polished results.
Once all adhesives and sealants have cured as directed, review the build for stray residue or loose parts before introducing plants or pets. Patience always pays off here.
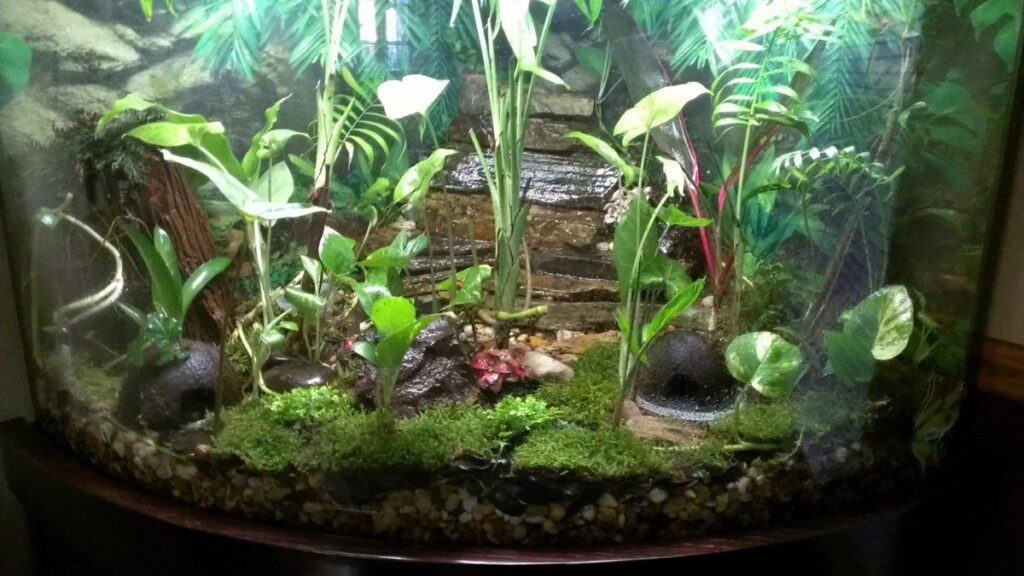
Choosing Adhesives and Sealants by Substrate Type Ensures Lasting Builds
Matching the adhesive to your unique substrate keeps micro terrarium ecosystems stable and visually appealing for months. Here’s how to handle different substrate combinations from stone to cork to glass.
Substrates like gravel, expanded clay, bark, sand, and rocks all react differently to adhesives and sealants. Prioritize products that set well with your chosen texture and that won’t leach harmful chemicals over time.
Bonding with Glass and Transparent Plastics
Building with clear surfaces calls for adhesives that won’t cloud or streak. Aquarium-safe silicone dries to a nearly invisible seal and holds up to repeated misting without peeling or yellowing.
Position your glass or acrylic parts carefully before applying a thin line of silicone. To avoid bubbles, work slowly, pressing with even pressure, just like smoothing wallpaper onto a window.
Allow every new seam to cure untouched for at least 24–48 hours. Resist opening or moving items during this period—this prevents tiny leaks or weakened seams that show up later under watering stress.
Securing Rocks, Wood, and Natural Deco Elements
Heavy stones, bark, or branches need adhesives and sealants with extra grip, such as two-part epoxy or thick gel-formula super glues. These options create solid anchors for multi-level builds or vertical arrangements.
Press the items together firmly but avoid tilting or sliding them while the bond forms to prevent adhesive wicking onto exposed faces. For irregular shapes, use a dab-and-hold method rather than lines.
Follow the label’s curing advice sharply—don’t rush to set more layers until you confirm solidity by lightly tapping or flexing the join. If it shifts, reapply or adjust as needed.
Simplifying Cleanup and Maintenance from the Start
Selecting adhesives and sealants with easy cleanup properties saves future headaches when it’s time to refresh plants, decor, or structural components in a micro terrarium ecosystem.
For the cleanest builds, steer toward products that are solvent-free and leave little residue. Fully cured silicone and plant-safe gel adhesives remain easy to trim or peel with minimal residue on glass or rock.
Quick Fixes for Build Adjustments
Sometimes, a design change or plant replacement is necessary. If you think you’ll update your layout, use low-strength, removable adhesives and sealants for non-load-bearing items.
Painter’s tape or museum putty can secure lightweight props or hide assembly seams while giving you flexibility to shift designs. For heavier builds, use strips of cut silicone pads pressed into place before planting.
Plan for practical removal by following this sequence: apply around the edge, let set, test with a gentle push, and, if needed, slice through with a plastic blade instead of prying. This prevents glass scratches or breakage instantly.
Key Safety Rituals Every Builder Should Adopt
Your health, and that of your micro terrarium ecosystem, relies on mindful application and storage of all adhesives and sealants. Adopt these clear-cut safety rituals to minimize risk while crafting, cleaning, or updating.
Store all products in air-tight containers or original packaging, well away from pets, children, or heat sources. This rules out accidental exposures, evaporation, or unexpected curing failures when you reach for them next.
Ventilating and Curing Indoors
When working with adhesives and sealants, always work near an open window or use a small fan to circulate air and prevent fumes from concentrating. Put down a plastic mat to protect your tabletop from drips.
Let newly sealed terrariums stay uncovered for 24–48 hours, even if odors seem faint. Never place plants or tiny pets in a sealed enclosure until every trace of smell is gone and the join feels cool and dry to the touch.
Trust the time on the label, but also rely on quick checks—if you touch the edge and feel stickiness, wait another few hours before proceeding. That patience pays off in a thriving, safe system long-term.
Conclusion: Building Confidence with Every Join
Whenever you start a new micro terrarium ecosystem, choosing quality adhesives and sealants keeps every layer strong and your finished project healthy for months to come. Focus on certified safe, waterproof options for any element that touches living roots or moist substrate.
Smart preparation and correct curing unlock both beauty and durability in your DIY builds. Taking time to test materials, plan your sequence, and finish with tidy lines helps your creative vision stay vibrant and robust.
Each confident join you create adds new skills for the next project. Reliable adhesives and sealants are your foundation for micro-habitats that delight—piece by piece, plant by plant, story by story.
Frequently Asked Questions
What’s the safest adhesive for living plants in terrariums?
Use aquarium-safe silicone or cyanoacrylate gel labeled as non-toxic. Avoid anything with solvent smells or unlisted chemicals. Curing fully until odorless is essential for plant health.
How do I remove glued-down decorations if I want to refresh my terrarium?
If using silicone or museum putty, slice through with a plastic spatula for glass safety. Any residue can be gently rubbed off after drying, then the area wiped clean for replanting.
Should I seal the corners of a glass terrarium even when using a lid?
Yes. Even closed systems develop condensation or leaks. Sealing every corner with plant-safe silicone prevents drips, improves stability, and makes frequent misting worry-free.
Is regular super glue dangerous for my micro ecosystem?
Standard super glue (cyanoacrylate) may harm delicate plants if over-applied or not fully cured. Always use gel-type versions, in small amounts, cured fully away from pets or edible greens.
How do I know when the sealant is fully cured and safe for use?
If the adhesive is clear, cool, and odorless after the specified curing time, it’s ready. Touch test for dryness, and check for no chemical smells before introducing plants or pets.