Mossy corners, emerald canopies, and shimmering tiny pebbles bring micro terrarium ecosystems to life. Enthusiasts use natural stones to shape the look and function of these living displays with artful precision. Every choice matters—especially the stones and minerals that anchor a miniature world’s character and stability.
Getting intentional with natural stones and mineral placement does more than boost looks. These materials impact water flow, plant health, and the habitat of micro-organisms. It’s clear that using them thoughtfully shapes a stable and vibrant micro-environment, not just background décor.
Whether you’re creating a serene mossy brook or a miniature mountain ridge, this article highlights proven techniques to incorporate natural stones and minerals with purpose. Dive in to discover actionable ideas and step-by-step examples for cultivating beauty, structure, and healthy ecosystems in micro terrariums.
Building Structure and Slope with Key Stone Choices
Choosing the right stones for structural integrity ensures terrarium landscapes stay functional and attractive. Start by matching stone size and weight to your intended terrain shape—gentle slopes need smaller stones, while dramatic ridges rely on larger anchors.
Natural stones such as slate and lava rock excel for layering. Strategically tucking them beneath soil controls elevation, prevents erosion, and delivers visual interest that lasts even after months of growth and watering.
Placing Anchor Stones: The “Foundation First” Technique
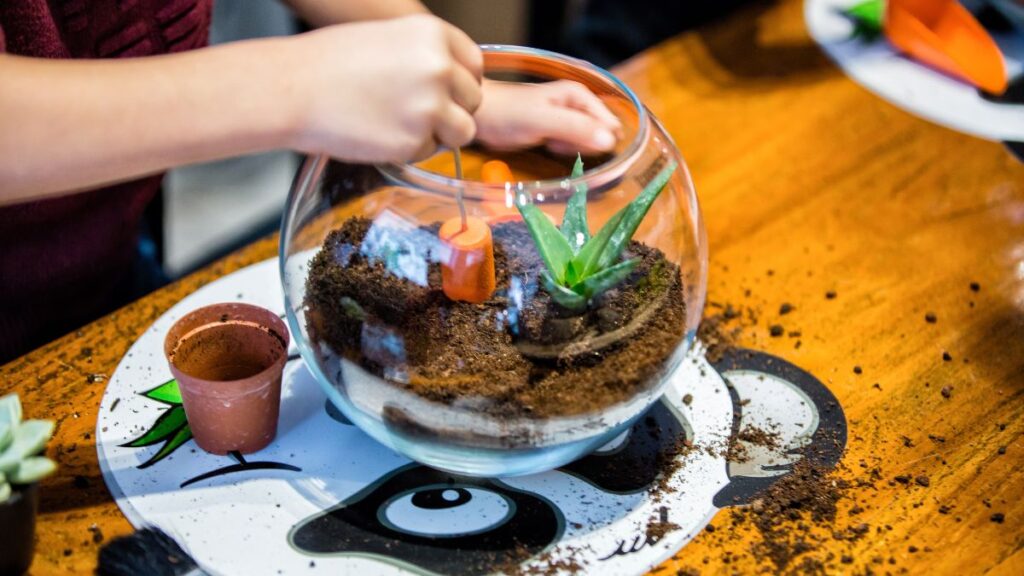
Securing anchor stones before adding substrate means you control the future landscape. Hold the chosen stone in the palm before settling it, feeling its contours, and pressing it firmly into the container’s base. This process stabilizes slopes and creates natural platforms for plants.
Once positioned, shift and wiggle the stone gently. Notice if it rocks or shifts—replace with a flatter side down until stable. Use this technique for three anchor stones around the bowl for balanced terrain.
For a final test, gently tilt the container side to side. Well-anchored stones should remain fixed, resisting movement and maintaining the layout’s vision as you add substrate.
Blending Fine Gravel and Large Stones for Naturalism
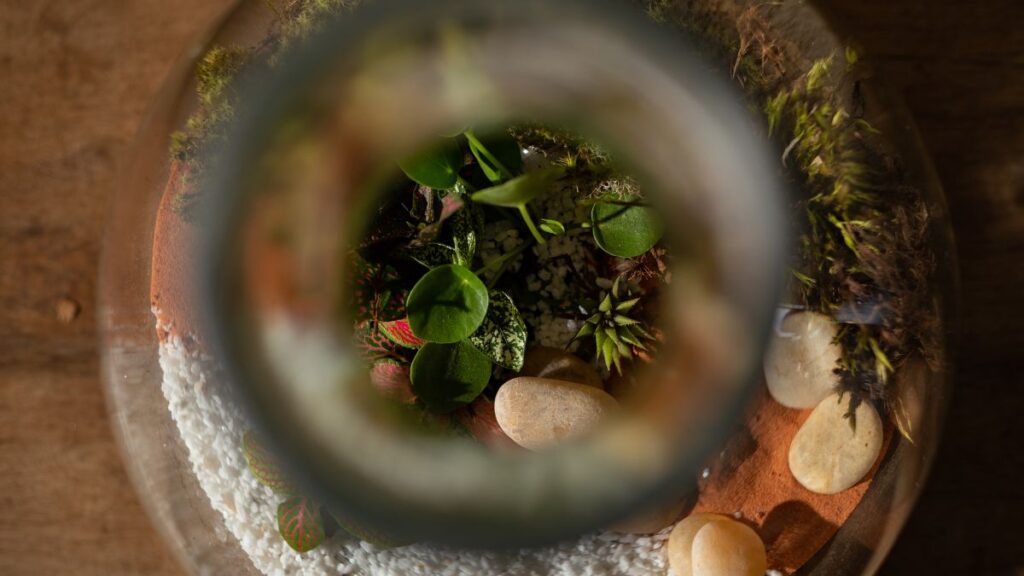
Pile small, round gravel in pockets between large anchor stones. Use a soft funnel or scoop to avoid scattering gravel on plant leaves. Mimic forest floors: observe, then fill bare spots with pebbles and fine stones until the result looks spontaneous, not symmetrical.
This “patch and blend” method visually softens bold stone edges, creating seamless transitions. Step back, squint, and adjust—noticing gaps or unnatural straight lines. Mix two pebble shades if possible for added realism.
Adjust lighting to see how shadows fall on different stone sizes. If needed, reposition some gravel or swap larger stones to keep the ecosystem from appearing too staged. Natural stones should look as if they’ve always belonged.
| Stone Type | Texture | Best Use | Actionable Tip |
|---|---|---|---|
| Slate | Smooth, flat | Terrace steps | Layer flat pieces for natural steps; stagger edges |
| Lava Rock | Porous, jagged | Water drainage | Create hidden drainage base below soil |
| River Pebbles | Rounded, glossy | Surface accents | Group in clusters to mimic streambeds |
| Quartz | Crystal, rough | Highlight features | Use singly for focal, sparkling accents |
| Shale | Layered, matte | Backgrounds | Stack along back wall to suggest cliff faces |
Choosing Complementary Minerals for Soil Health and Style
Selecting minerals that fit your micro terrarium’s needs can boost plant vigor and visual drama. Mix aesthetics with function by pairing natural stones with mineral elements that gently supplement soil while offering color contrast.
For example, accent rose quartz for visual brightness, or sprinkle small pieces of dolomite to offer calcium that benefits miniature ferns and mosses. This dual purpose is key for healthy, eye-catching arrangements.
Pairing Colors for Cohesive Design
Blend stones and minerals that share undertones, like warm-hued jasper with honey onyx. This creates a unified backdrop, allowing key features and plants to catch the eye without clashing.
- Mix polished agate with sepia granite for subtle transitions between layers, making the scene feel natural.
- Anchor mossy green diorite at the base of orange-tinted stones for striking visual grounding. This helps the miniature ecosystem’s palette feel intentional.
- Add translucent selenite to boost moisture retention and shimmer. Its clarity adds both function and elegance in shaded corners.
- Sprinkle tiny tiger’s eye pebbles around feature plants, echoing their golden-green hues while supporting structure.
- Place single basalt chunks near cool-colored sand for contrasting strength and texture, reinforcing the scene.
For a truly harmonious micro world, hold different stones side by side in the palm until you see a pleasing blend — then use that palette as your guide for every layer and accent.
Supplying Micro-Nutrients the Right Way
Add crushed natural stones such as limestone or powdered gypsum underneath the topsoil to boost nutrient supply. Always layer these minerals below visible pebbles so they slowly leach benefits without overwhelming roots.
- Spread a teaspoon of fine dolomite under the moss mat. This provides gentle, ongoing calcium for resilient growth.
- Mix soft pink trace mineral salt in the dampest corner to encourage healthy algae and maintain balance.
- Sprinkle powdered gypsum in shaded spots if you notice moss tips yellowing. This fortifies plant resilience and brightens green tones.
- Layer small bits of zeolite under aquatic features to filter water and neutralize waste, similar to aquarium setups.
- Bury two or three crumbly tufa stones beneath leaf litter. Their slow breakdown feeds bacteria which improves plant health over weeks.
Encourage slow-release by keeping mineral granules large enough not to dissolve in days, but small enough for steady diffusion over time. Watch for robust growth as proof of your smart mineral pairing.
Designing Layers for Proper Drainage and Moisture Management
You’ll prevent root-rot and encourage lush moss by layering soil with natural stones. Each substrate level has a purpose, so follow a consistent process each build.
Place a foundation of lava rock or chunky quartz in a single even layer at the container bottom. Its gaps allow water drainage, keeping substrata from turning muddy.
Building a Three-Layer Drainage System
First, pour 1/2-inch of clean lava rock onto the glass base for primary drainage. Next, add a quarter-inch of activated charcoal, ensuring chemical filtration. Top that with moistened, high-quality potting soil to anchor roots.
Press the soil gently to contour slopes around anchor stones. The result feels like marshy earth on riverbanks, supporting both structure and plant life without pooling water near root zones.
Sprinkle fine quartz chips along pathways between plants, which wicks excess moisture away, imitating natural trails. Check after the first watering; adjust slope or add additional small stones if syrupy water remains at the glass edges.
Spot Checks and Maintenance for Layer Health
Pinch soil at the lowest point every two weeks to check for residual moisture. Soil should feel moist—not soggy—even near the drainage layer, which proves your natural stones are working.
If water pools at the bottom after a month, add more chunky lava rocks or break up compacted soil. Listen for crunching sounds as you press, confirming air gaps between stone and soil.
Surface stones sometimes grow green algae in damp corners. Brush them gently with a soft brush monthly; this routine keeps colors vibrant, prevents stone staining, and boosts mini ecosystem clarity.
Creating Focal Points with Feature Stones and Mineral Highlights
Elevate your micro landscape by selecting focal feature stones that provide texture, sheen, or contrast against smaller mineral elements. The right placement turns inert pebbles into visual anchors for plant and moss arrangements.
Use natural stones with unique patterns such as banded agate or variegated jasper as “centerpiece” elements. Avoid symmetry—let stones nestle into each other for an uncontrived, wild look.
Layering and Elevation with Statement Stones
Start your design with one remarkable natural stone, placing it one-third from the container edge. Tilt it slightly downward, mimicking how boulders embed on hills after rainfall. This method signals natural movement and draws eyes upward.
Add three to five supporting minerals underneath the statement stone for support and ornamentation. Adjust the tilts so no flat side looks manufactured—chip or rotate stones as needed to preserve the organic effect.
Position plants in the shelter of feature stones, using the shade as a natural humidity microclimate. This creates structure with function, not just appearance.
Adding Sparkle, Glint, and Texture with Mineral Highlights
Sprinkle white quartz chips at edges where moss meets drainage stones—this sharp border gives a crisp, finished effect. Add two or three clear crystal points near the glass edge for subtle light play each morning.
Try hematite beads grouped in tiny piles at the feet of slow-growing ferns. Their metallic sheen mimics forest dew and draws attention to miniature plant detail that might otherwise be missed by the naked eye.
Scoop a small handful of polished petrified wood chips into the back corner. Their rich colors deepen the background, creating a sense of distance, essential in micro terrarium composition for visual layering.
Adapting Stone and Mineral Selection to Biotope Themes
Micro terrarium ecosystems thrive when stone and mineral choices reflect real-world habitats. Think through the scene you want to recreate—woodland stream, alpine tundra, or desert arroyo—and let those images guide every selection.
Gathering natural stones that mirror regional geology gives every micro landscape a sense of place. This helps plants, moss, and decor collaborate seamlessly with the composition’s overall mood and function.
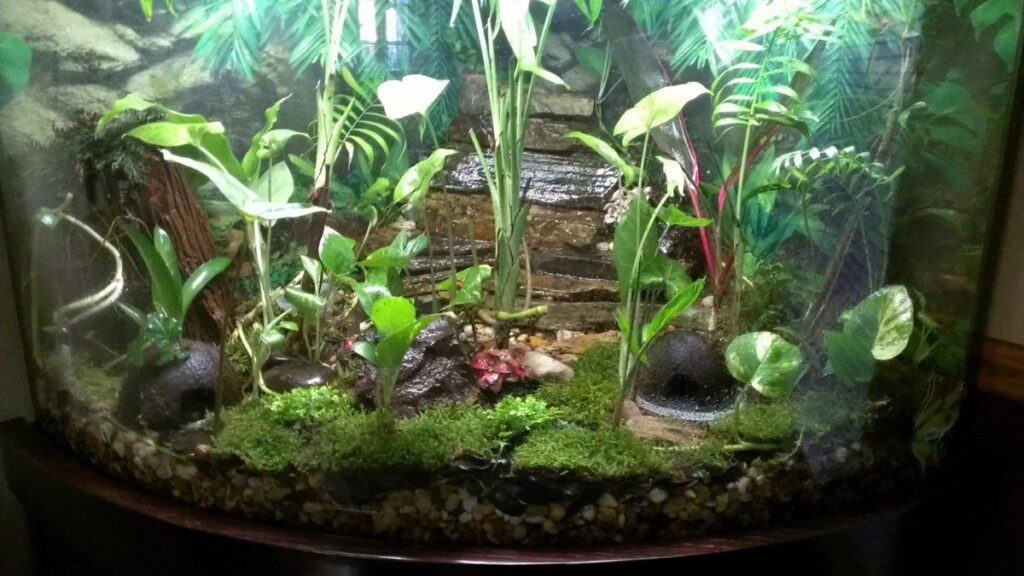
Simulating Forest Glades with Moss and Pebbles
Layer soft green moss between rounded river stones to evoke the feel of a mossy glade floor. Place dark basalt at the far end to channel the look of deep woods, with light quartz to capture dappled sun.
Hum a little tune as you nestle each pebble, aiming for gentle disorder—no clear grid or repeating shape. Each stone echoes the rhythm of forest debris, making your mini ecosystem appear timeless and wild.
In this scenario, arrange ferns or selaginella to look as if they’re sprouting from cracks in stone. This placement helps mimic nature while providing cool, stable humidity for the moss.
Crafting Desert Scenes with Crystals and Crisp Stones
Scatter golden sandstone chips in sweeping bends along the container’s floor. Add calcite for color and porous lava rock for moisture retention, echoing how millennia of wind shape arid stone beds.
Set a small, upright geode as a desert “monolith”—not at center, but slightly off. Add two tumbled tiger’s-eye stones at the base for contrast, grounding the feature with natural stones that catch stray rays.
Sprinkle crushed red jasper in pockets between pebbles. The result feels like a natural dry riverbed, allowing for hardy succulents or air plants to tuck into the gaps as in a true micro environment.
Supporting Microfauna and Biodiversity with Smart Stone Placement
Strategically placed natural stones and minerals provide shelter and surface area for beneficial microfauna, including springtails, isopods, and essential bacteria. This increases the biodiversity and long-term health of micro terrarium ecosystems.
Arrange stones to create shaded crevices and moisture pockets beneath and between them. These microhabitats shelter detritivores that break down dead plant matter, ensuring nutrient cycling and stable growth.
Mini Hideouts for Clean-Up Crew Success
After adding anchor stones, wedge flat pieces with 1/8-inch gaps beside them. Watch as isopods and springtails find safe, cool retreats during daylight hours, emerging at dusk to keep surfaces tidy.
Add an extra pebble pile at the moistest edge. Here, you’ll notice tiny dots—microfauna thriving where stones keep moisture levels steady. This arrangement supplies all stages of their life cycle with needed refuge.
Moisten the substrate near these hideouts once weekly to maintain optimal humidity. Natural stones hold enough water to keep the area damp without flooding and encourage healthy populations.
Cultivating Bacteria for Thriving Plant Growth
Bury a small piece of porous pumice or tufa among the drainage stones as a colony “seed.” This expanded surface area lets beneficial bacteria multiply, breaking down waste and feeding roots organically.
Test this by comparing growth in containers with and without these porous stones: you’ll see lusher, more vigorous moss and ferns in those with increased stone surface.
If you spot unusual growth or smell mildew, check if airflow is blocked. Reposition stones for better ventilation, always favoring both function and ecosystem diversity.
Frequently Asked Questions
What’s the best way to clean natural stones before adding them to a micro terrarium?
Rinse all natural stones with warm water. Use a soft brush to remove debris or algae. Avoid soap—stick to a vinegar soak if stones look stained. Let them air-dry before use so excess moisture doesn’t upset substrate balance.
Can I use collected stones from outdoors in my indoor micro terrarium ecosystem?
Yes, but quarantine them first. Soak collected stones in a water-vinegar solution for thirty minutes, then scrub and rinse well. Dry completely and inspect for insects before adding to your scene to keep your ecosystem healthy.
Do certain minerals help prevent mold in terrarium environments?
Minerals with antibacterial properties—like zeolite or activated charcoal—add a layer of protection. Place them between drainage rock and topsoil. They work best combined with regular ventilation and routine monitoring for moisture balance.
Is there a limit on how many types of natural stones to use at once?
Stick to two or three stone types per micro terrarium. Mixing many can look cluttered or unnatural. Choose stones that share a common color family or texture for a harmonious, lifelike effect.
Are brightly colored minerals safe for plants and animals in micro terrariums?
Use them sparingly—many vivid minerals are safe but may contain trace metals. Research or buy from reputable terrarium suppliers. Avoid any stones that leave residue when wet or that change water color, as these can impact ecosystem stability.